1. Select Preview Mesh/ Select Visible Parts
This option gives you further visual clarity for both planar surfaces and 3D models.
Plane
While working on the default ‘Plane’ mesh (see
Setup tab), this option
 lets the user cycle through different basic mesh types such as a cube, cylinder, and
sphere to view how the mix will look on them.
lets the user cycle through different basic mesh types such as a cube, cylinder, and
sphere to view how the mix will look on them.
3D Models
If you’re working on a 3D asset or Custom mesh, the preview option will change
![]() and now you will be able to toggle the visibility of texture sets based on the
Materials or Udims that the model is composed of.
and now you will be able to toggle the visibility of texture sets based on the
Materials or Udims that the model is composed of.
2. Preview Displacement
This option
![]() lets you toggle the displacement preview on/ off.
lets you toggle the displacement preview on/ off.
3. Preview Tiling
This option
![]() helps get a better idea of how the mix would look when tiled on a larger surface.
helps get a better idea of how the mix would look when tiled on a larger surface.
4. Show Grid
This option
![]() lets you toggle the grid on and off. You can modify the grid by going into the
display settings and making changes to the Grid section at the bottom.
lets you toggle the grid on and off. You can modify the grid by going into the
display settings and making changes to the Grid section at the bottom.
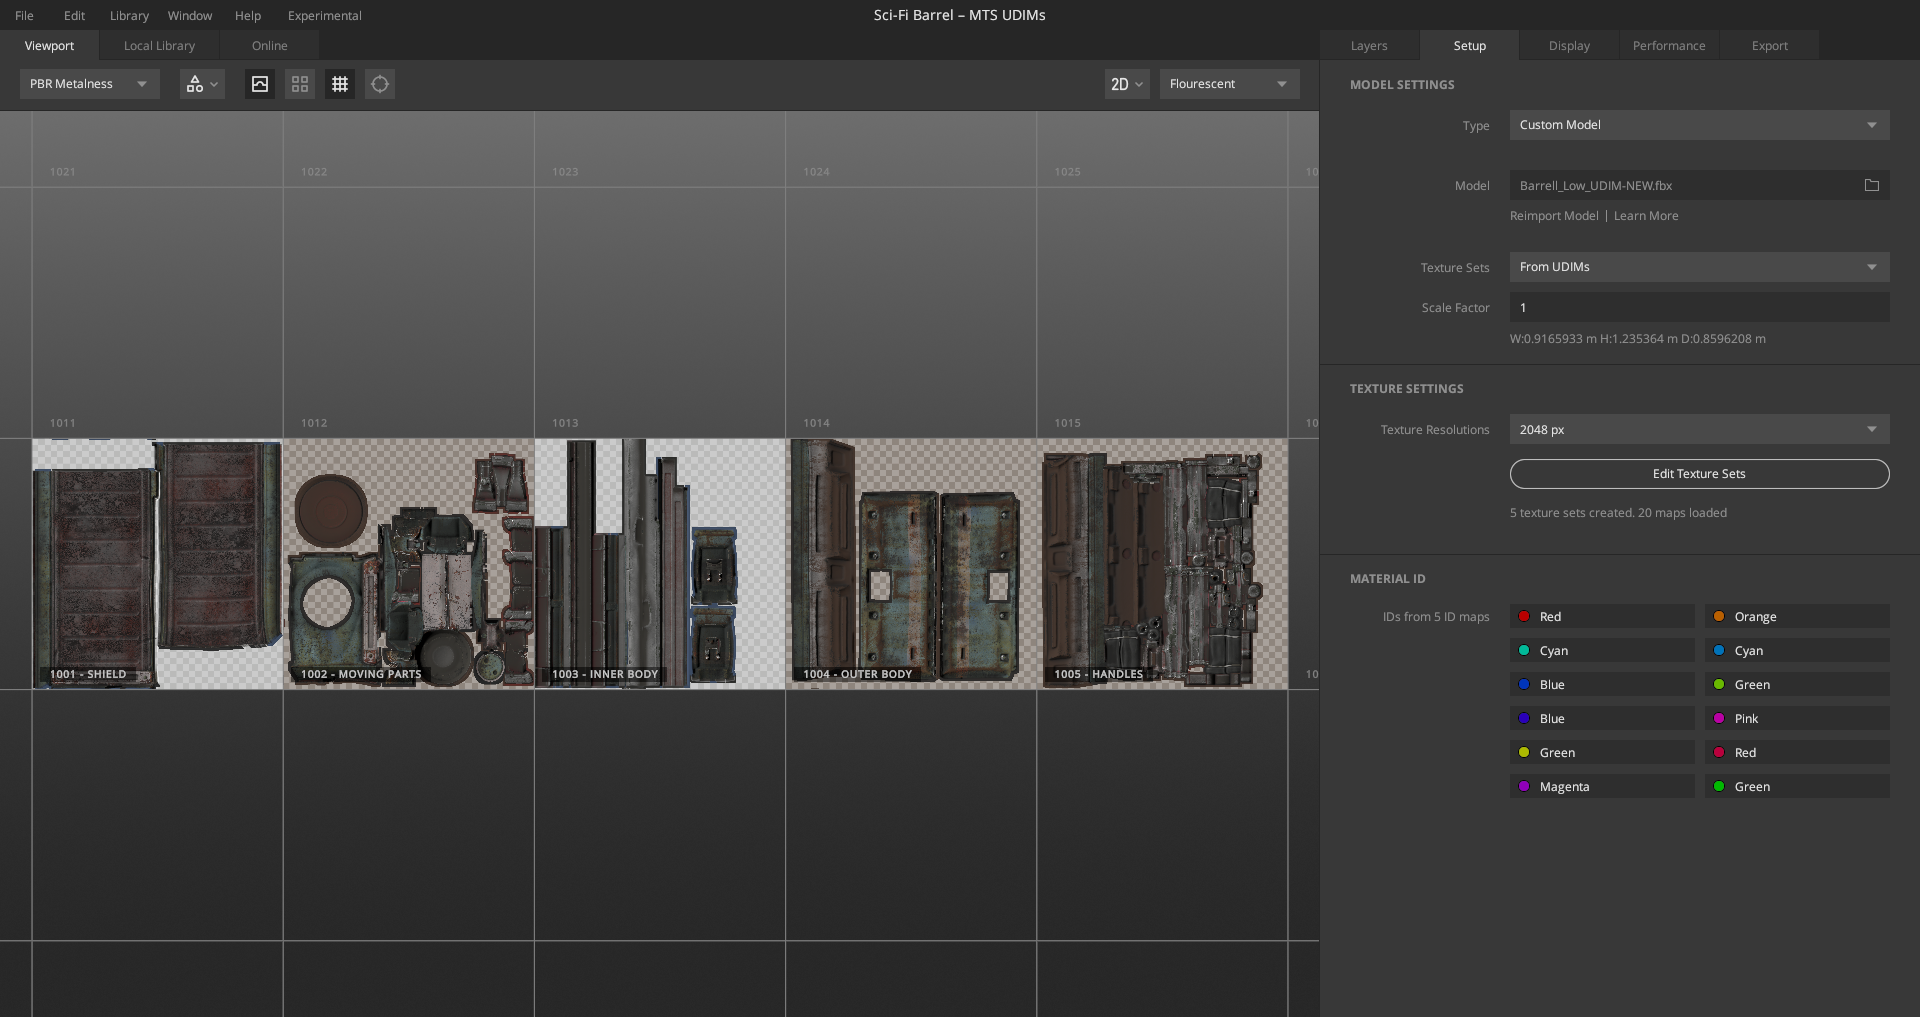
While working with Multiple Texture Set models, you can view the names of the texture sets while in 2D view. For UDIMs, you can also see the tile numbers.
5. Active Area Focus
The active area of focus
![]() lets you quickly identify which texture set is currently targeted by the Layer Set
and reflects changes from the layer stack. Press ‘A’ to toggle.
lets you quickly identify which texture set is currently targeted by the Layer Set
and reflects changes from the layer stack. Press ‘A’ to toggle.
6. 2D/3D View
The 2D/3D view
![]() allows you to change how you view your model. For a plane mesh, the view shifts to a
top-down, orthographic view in 2D mode, while a 3D model will display the mesh info
on a 2D plane based on its UV layout. Painting can be done in this view as well.
When in 2D view, the displacement preview is not supported. Toggle views using the
shortcut “P”
allows you to change how you view your model. For a plane mesh, the view shifts to a
top-down, orthographic view in 2D mode, while a 3D model will display the mesh info
on a 2D plane based on its UV layout. Painting can be done in this view as well.
When in 2D view, the displacement preview is not supported. Toggle views using the
shortcut “P”

7. Lighting

Several skyboxes are provided within Mixer to view your results in various lighting. The background can be changed from the Display tab however the lighting still affects the mesh in the viewport.