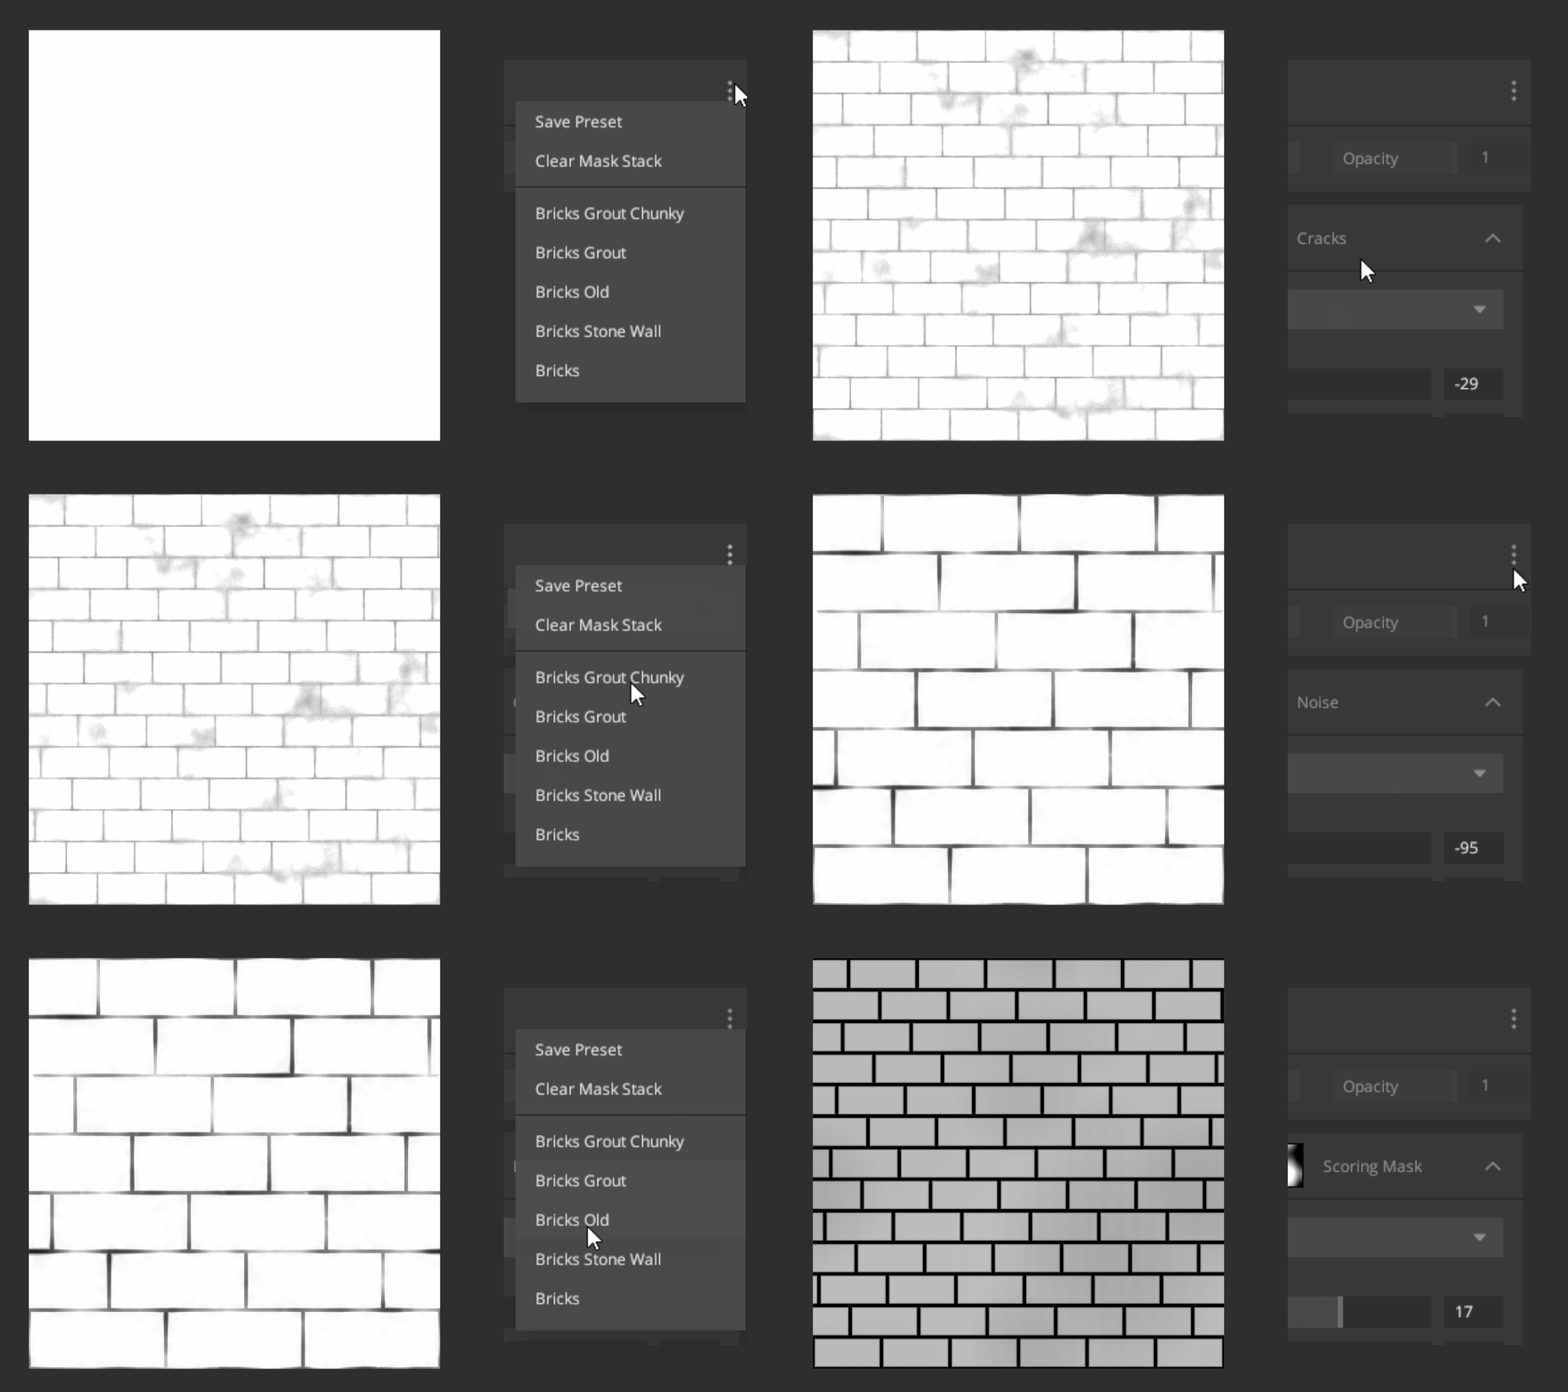
Mixer’s procedural masks offer countless ways to help you texture your assets. Here’s a preview of how Mixer uses multiple mask components and modifiers to help you create great-looking assets.
To add a mask stack to a layer * right-click* on the layer and click on Add Mask Stack or click on the Mask Stack icon at the bottom of the layer stack.


Clicking on the Mask Stack thumbnail will show the mask stack contents on the right, allowing you to add different masks to it. In this stack, you can add components such as real-time curvature, procedural noise, patterns, and much more, along with modifiers that can alter and adjust the result of these components. Some examples of modifiers are Brightness/Contrast, Posterize, and Clamping.
Mask Stack Properties
The image below shows the Mask Stack properties. You will find these on all your
Mask Stack and are required to create the result of your mask:
- Components
- Modifiers
- Blend Mode
- Opacity
- Procedural Mask Presets

A mask stack comprises of Components, that generate masks, and Modifiers, that modify the underlying mask in the stack. See the respective pages for more information on each type of mask.
1.
![]() Components
Components
2.
![]() Modifiers
Modifiers
3. Blend Mode
When there is a component above another component, you can control the blend mode of each mask by selecting a mask and using the dropdown on the top of the stack. For more information on the different methods of blending, see Blend Modes.
4. Opacity
Similar to blend modes, there needs to be a component above another component for the opacity control to be enabled. The opacity controls the transparency of the mask over another.
5. Procedural Mask Presets
Several mask presets are included with Mixer. You can add them to the mask stack by
clicking the options icon on the top right of the stack. You can also save or load a
preset.
Procedural mask presets are made by a combination of mask components and modifiers.
You can adjust these presets accordingly by changing the component’s controls.


