Adding a Material ID Mask to a layer allows you to mask selected mesh parts.
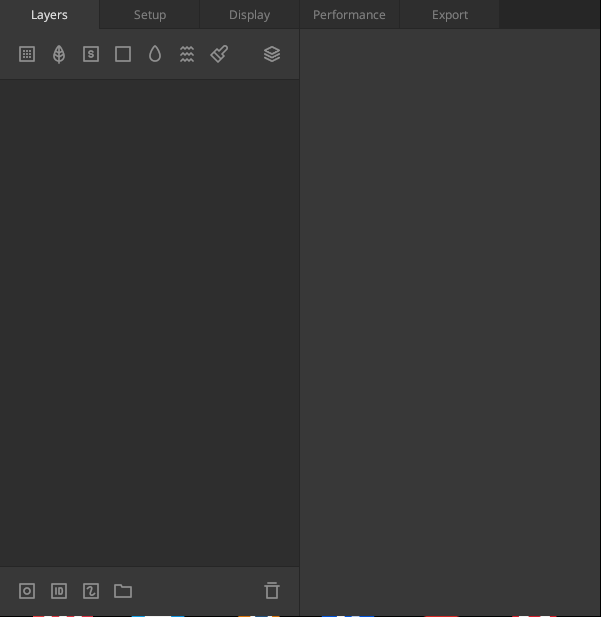
Select a layer and click the Material ID icon at the bottom of the layer stack to add a Material ID Mask to the selected layer.

If your Mix has no Material ID map set up, you will have no color IDs listed, and the properties panel will look like the image below.
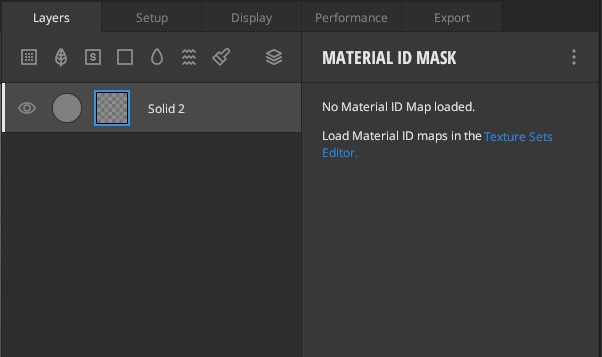
We will look at this Material ID Mask section in 3 parts:
- Material ID Map Setup
- Applying a Material ID Mask
- Handling Unassigned IDs
1. Material ID Map Setup
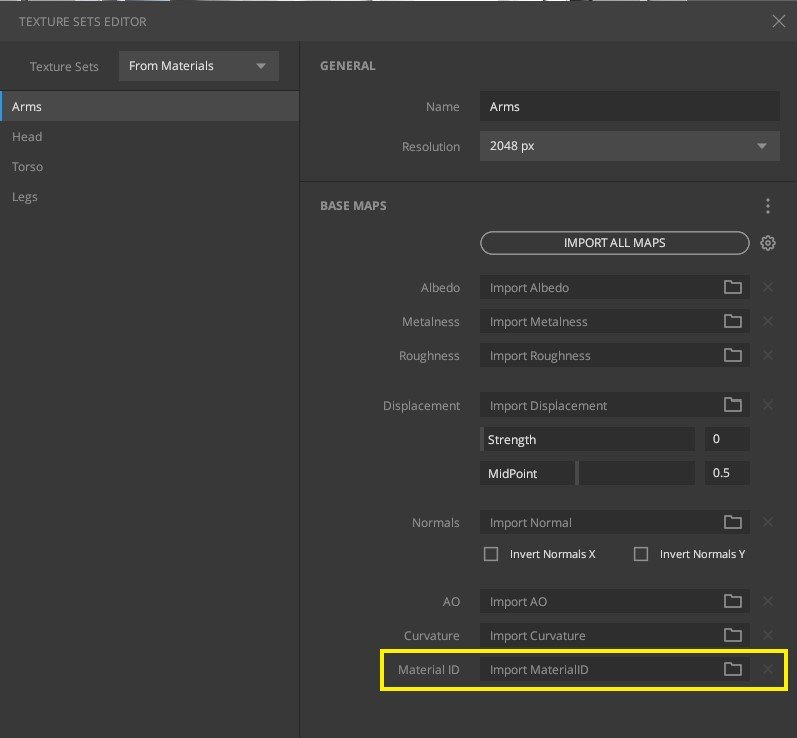
There is a Section for Material ID in the Setup Tab that will show all the color IDs generated from the Material ID map(s) loaded. The map(s) can be loaded from the Texture Sets Editor for each texture set available.

Once a Material ID map has been loaded, the collective color IDs found will show up in the setup tab section. It will also display the number of maps the colors have been picked from. If a Mix has an unassigned ID, you can see them here as well. We will look at handling unassigned IDs later on this page. The following image shows the color IDs found in 4 Material ID maps.
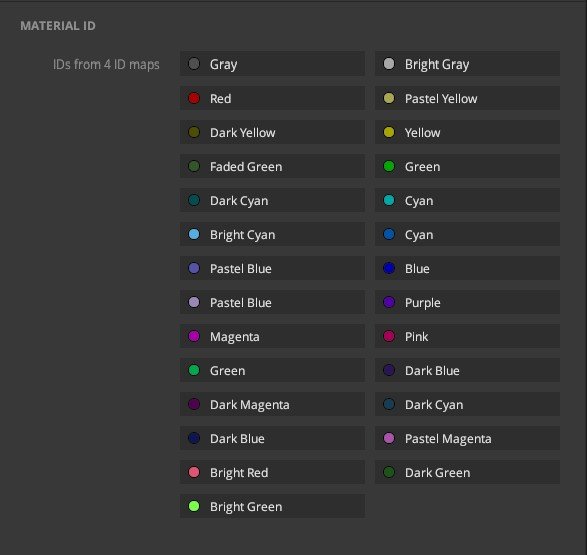
Once the color IDs have been generated, you will notice they have default color names. These can be renamed as required by clicking on them. The names will automatically update in the Material ID Mask as well.
Now that we have the Material ID maps set up let’s look at how to use them in a mask in the next section.
2. Applying a Material ID Mask

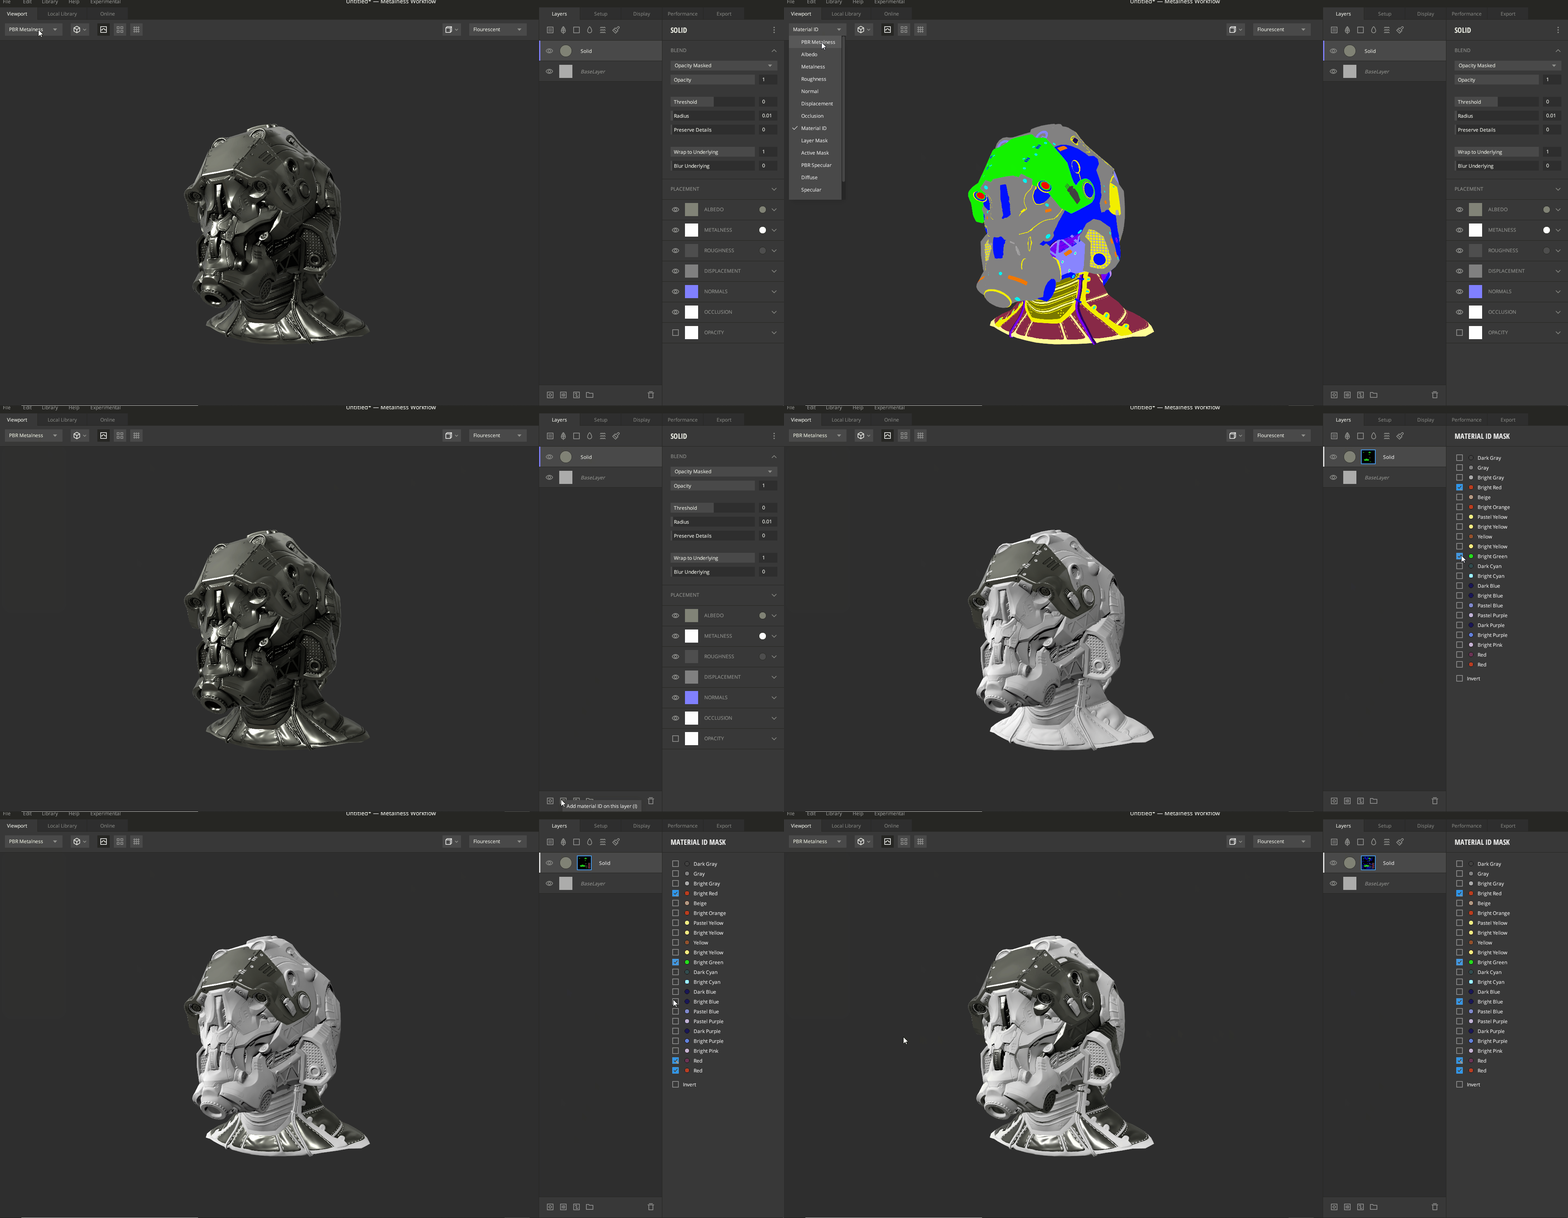
Once you have your Material ID maps set up, the Material ID Mask property will show the same list of colors as seen in the setup tab. Each color represents an area or multiple areas on your mesh. These colors can be visualized on the mesh by switching to the Material ID render mode. Next to each color in the list, there is a toggle selection. When a color is selected, the area representing that color is visible in the mask. Unchecked colors are masked out.
There are two ways to select the color IDs for your mask:
- Selecting Color ID from the Color List
- Selecting Color ID through the Color Picker
1. Selecting Color ID from the Color List
You can select any color from the list to add a specific texture to that respective part of the mesh.
2. Selecting Color ID through the Color Picker
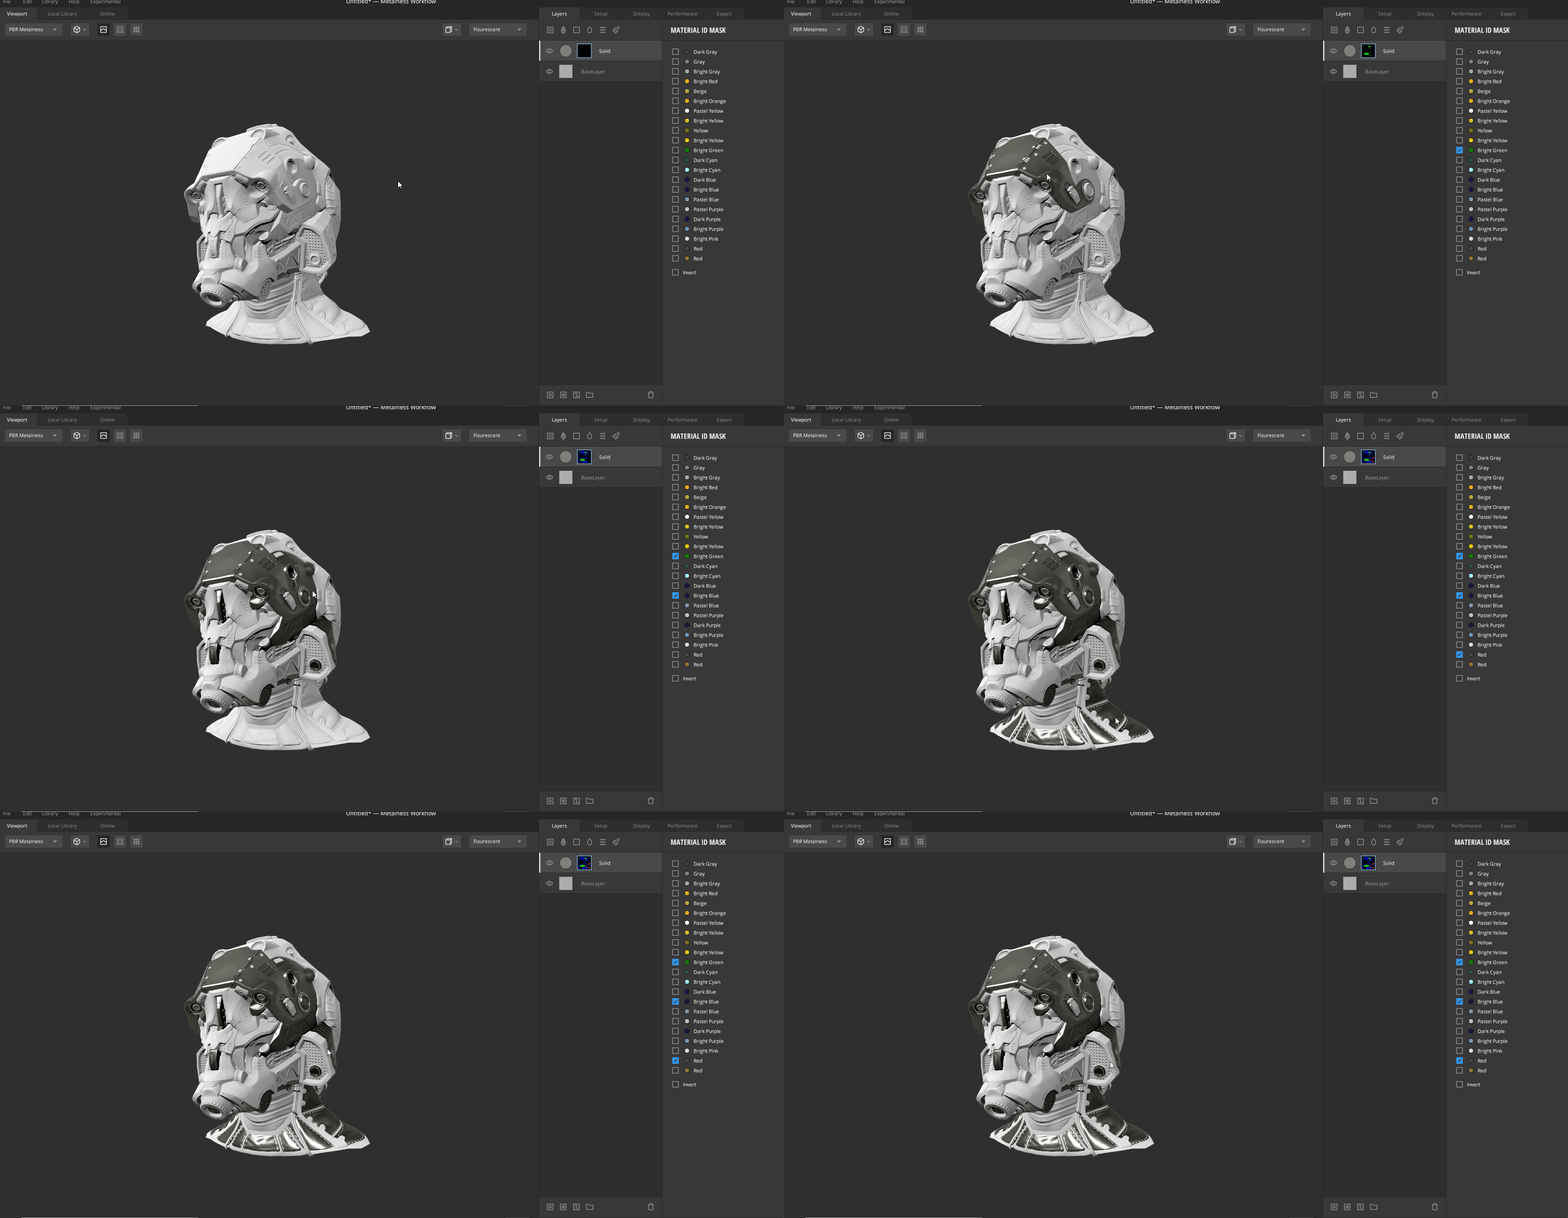
While the Material ID Mask is selected, by holding down “Q,” you can switch from your current render mode to the Material ID render mode, where you can easily toggle color IDs on and off with the color picker. Releasing “Q” takes you back to the previously selected render mode.
3. Handling Unassigned IDs
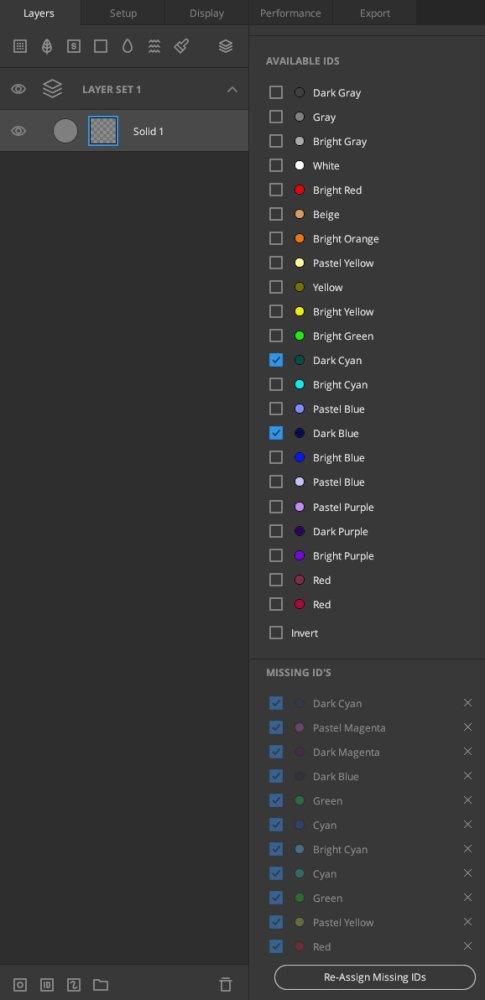
There can be situations where a Mix has a Material ID Mask with selected colors, but they do not match any color in the loaded maps. These are referred to as Unassigned IDs. There are several ways these IDs can be resolved.
- Loading a Map
- Manual Reassignment
- Removing Unassigned IDs
1. Loading a Map
If a map with matching colors to the Unassigned IDs is loaded, the Unassigned IDs are automatically re-matched and assigned to the Available IDs listed.
2. Manual Reassignment
In the setup tab, Unassigned IDs can be reassigned to another existing ID by right-clicking on the ID and selecting from the list of the Reassign to… option.
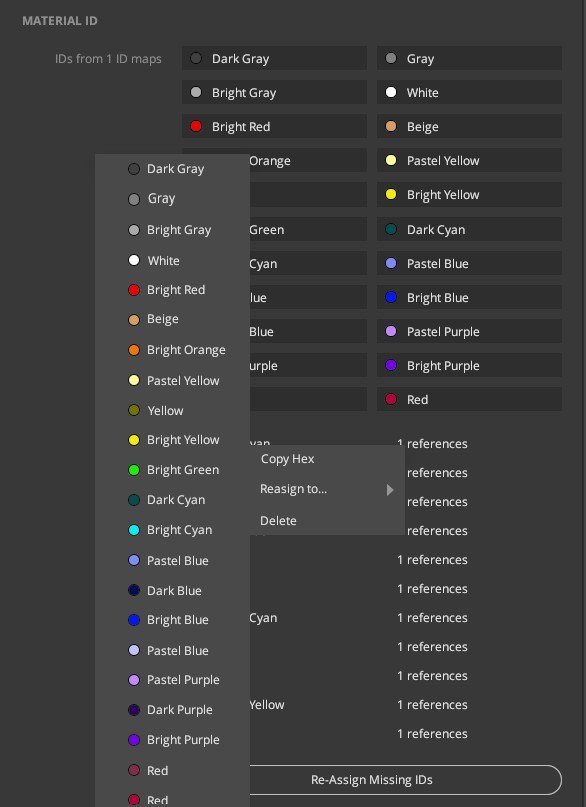
You can also quickly reassign multiple IDs by using the Re-assign ID panel. You can open this panel by clicking on the button at the bottom of the setup tab, as seen in the image above and from the Material ID Mask properties panel. This reassign ID panel is only available when there are unassigned IDs in the Mix.

Select the IDs you want to reassign to and click reassign.
3. Removing Unassigned IDs
If the Unassigned IDs are no longer needed in the Mix, then they can be removed.
There are two ways to remove them.
- In the setup tab, right-click on the Unassigned ID you want to remove, and click Delete from the right-click menu.
-
In the Material ID Mask properties panel, click on the cross next to the
Unassigned ID to remove it.
Have a look at the following video to learn more about using the Material ID in Mixer. This video uses a previous version Mixer but should cover the basics.
