To install Mixer, you can head over to Mixer’s web page and click ‘download for free.’ The website will automatically download an installer for your computer.
Once downloaded, the installer can be launched to initiate the setup, which will take you to the following options.
- Latest version of Mixer – Selected by default, this option will install the latest version of Mixer.
- Sample Mixes – While not essential for the installation process, the sample mixes are there for you to dissect and explore various Mixer tools to achieve the desired result.
- Smart Material Packs – The Smart Materials are a powerful combination of layers that conform to your model’s details giving you a quick start to your texturing process. These are also optional for the installation process.
These are also shown in the image below.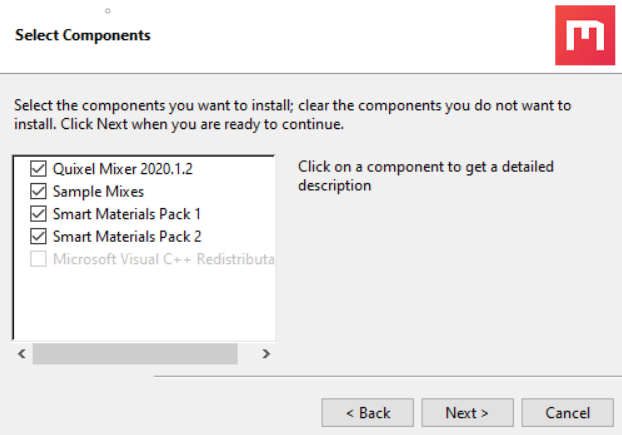
Clicking on these options will show additional information on the right.
Setting Paths
The installer will then guide you through setting up Mixer’s folders. The installer will confirm three different paths for the following three aspects during the setup. Learn more about the folder structure that Mixer utilizes.
1. Quixel Mixer Application
The default directory will be the Program Files in your OS drive. This can be changed as per your requirement.

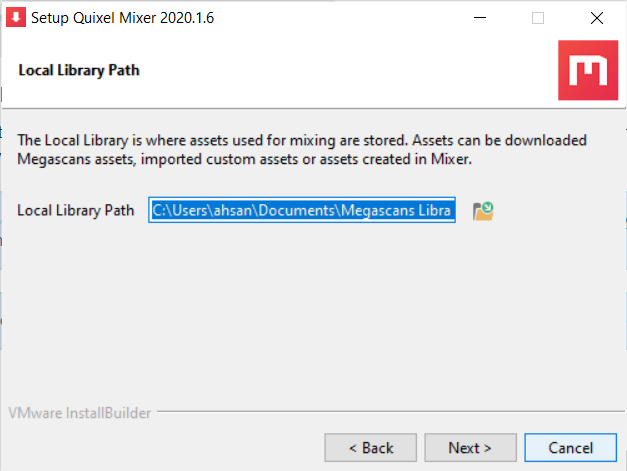
2. Local Library
The Local Library contains assets used for creating mixes. These can be downloaded Megascans assets, imported custom assets, or assets made within Mixer. By default, the local library will be named Megascans Library, as shown in the image below.
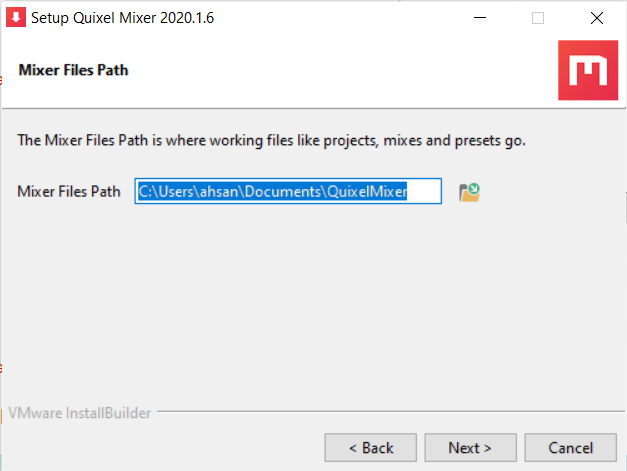
3. Mixer Files
This folder will eventually contain your mixes or project files, default or custom presets, and custom brushes once you start creating within Mixer. By default, this will show up as Quixel Mixer, as shown below.
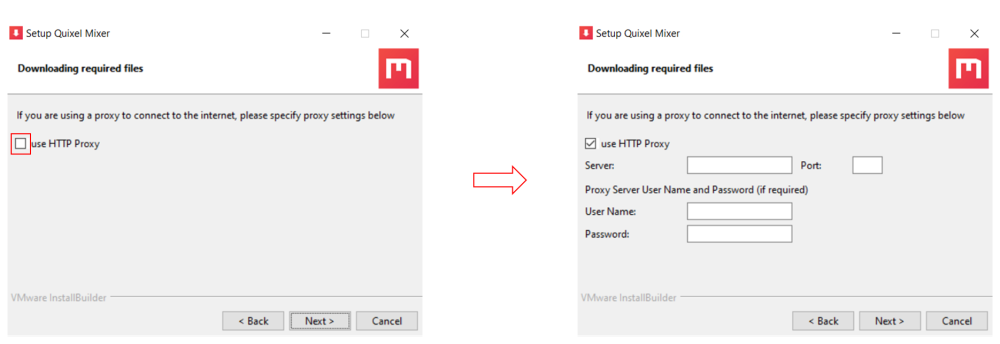
4. Proxy Settings
You can also use specific Proxy Settings for your installation process. In order to do so, check the use HTTP Proxy option and enter the required information.