
Smart Materials are assemblies of layers that conform, adapt, and react to the underlying surface and geometry. This also gives users the ability to quickly and easily “style swap” 3D assets by applying existing or saved smart materials on other 3D assets, providing consistent results that will fit together harmoniously in a scene and ensuring the user can get the most use out of their assets.
You can tweak every Smart Material. This means adjusting reflectance values, masks with curvature, ambient occlusion, noises, and switching out textures, plus a lot more, allowing you to achieve a truly custom look and feel.
To learn more about Smart Materials, please view the following video.
How To Use Smart Materials
Using a Smart Material in your project is as simple as dragging and dropping or just clicking on the smart material. This will place the selected material above the highlighted layer in the layer stack, which you can rearrange at any time. They are treated just like regular library assets – only smarter.
From here, you can go into any of the layers and their associated masks within the Smart Material and adjust them as much as you’d like. Changing curvature, imperfection, noise, or channel data is still possible, and these can also be re-exported as a new Smart Material if desired.
Open Smart Material as a Mix
You can load a smart material from the library as a Mix. This will load a shader ball textured with the smart material selected. You can modify the smart material further according to your requirements and then save it as a new smart material.
Performance
Your Smart Materials should be designed with performance in mind. This means utilizing pre-existing textures either from the Megascans library (such as imperfections) or linking to a specific layer’s channel within the Mask Stack. Although Mixer can use procedural noises, physically accurate scan data ensures you get the highest quality possible. There is no right or wrong choice here. Just remember to optimize where you can.
How To Make Smart Materials
Creating a Smart Material is as simple as placing all your desired layers into a group. This then allows the Mix to be treated as a single, smart layer. Please take a look at the video shared at the top of this page to know more.
To convert this, highlight all of the layers you would like within the smart material by holding Shift + clicking layers to select multiple layers at once or CTRL + clicking to select individual layers.
Once highlighted, you can click the folder icon at the bottom of the layer panel, next to the masking buttons. Alternatively, you can use the hotkey, CTRL + G. This will add the selected layers to a group.
The group’s name will generally be the name of your smart material, so giving it a clear representation of what the material is will help you in the future. However, you also can set the name of the Smart Material when saving as well.
Alternatively, if you have a pre-existing group set up with layers already inside, you can drag and drop additional layers within the group. These will then be a part of the Smart Material once saved.
Saving Smart Materials
Once your smart material is set up and you’re ready to save it out, it is as simple as right-clicking on the group housing the material information and selecting Save Smart Material. Once again, ensure your group has a name relevant to the type of material you want to create if prompted.

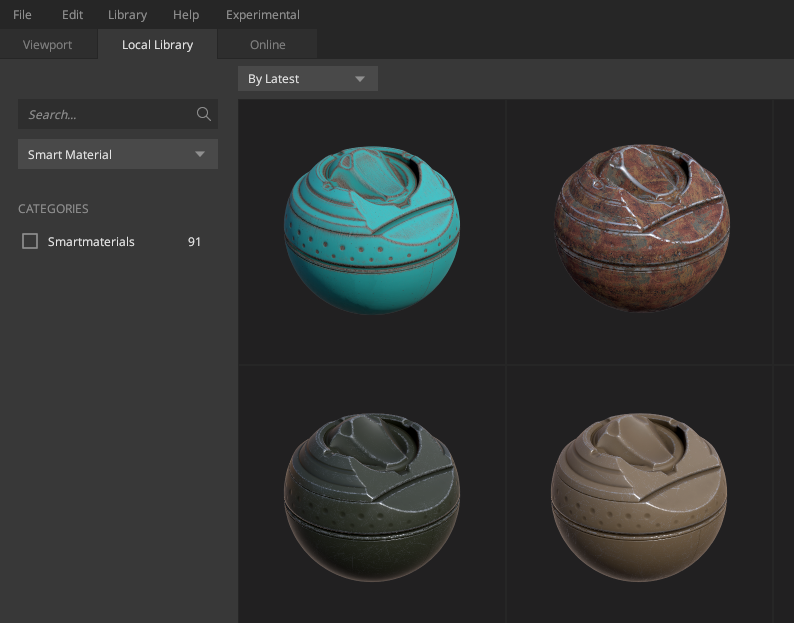
Your smart material will now be visible within the Local Library. You can use the asset type drop-down to select Smart Material to only show those assets.
To have a more in-depth look into smart materials, please explore the following recording.