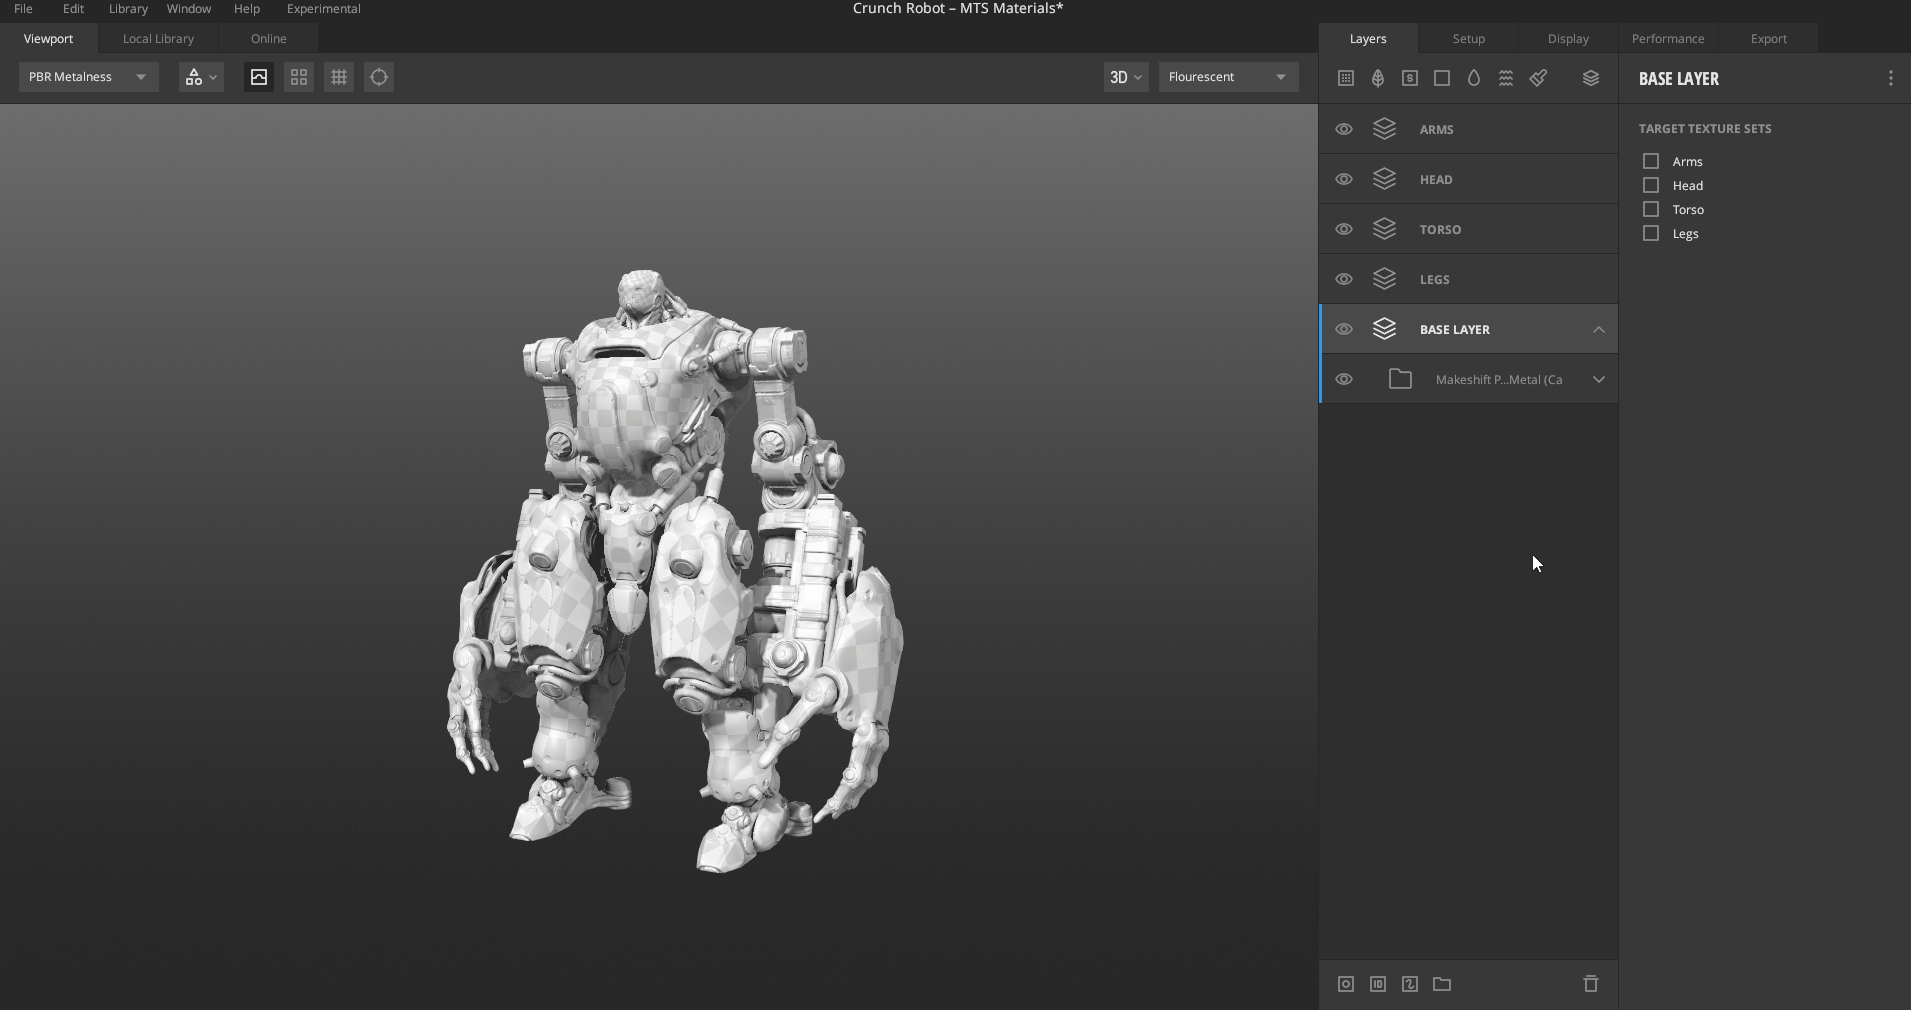
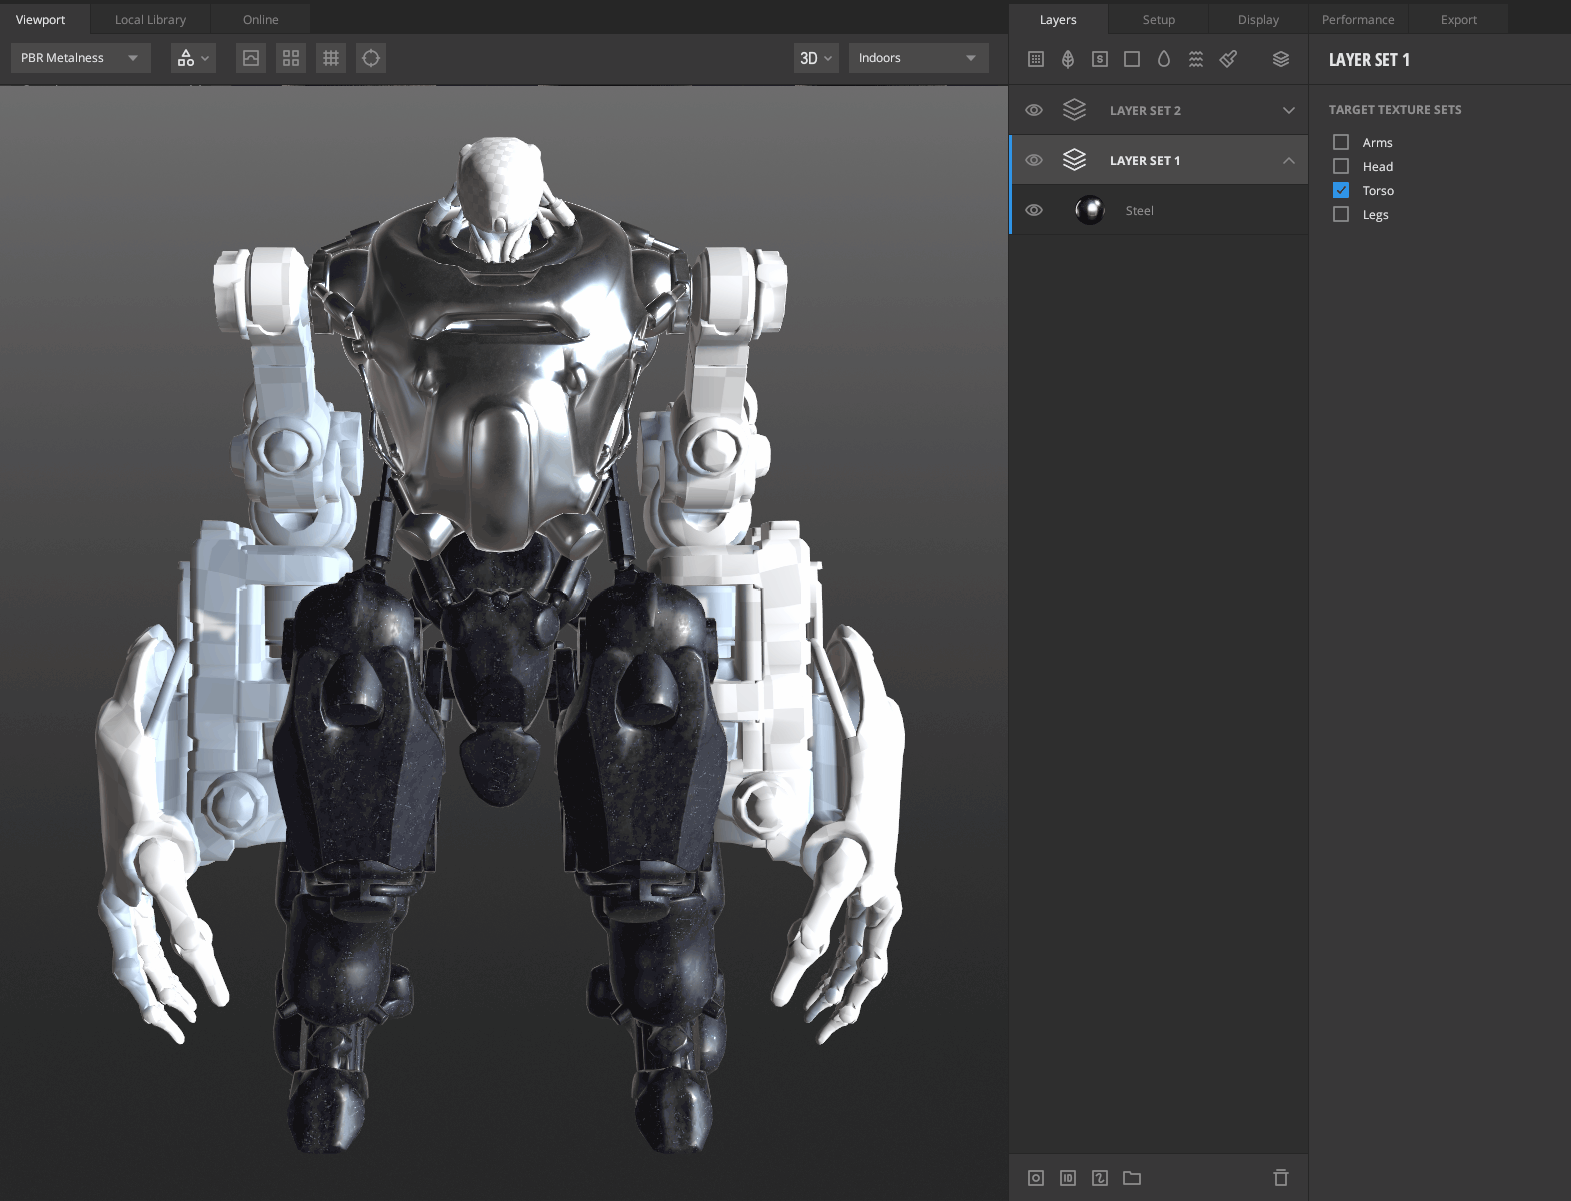
Layer Sets are a collection of layers that help control which Texture Set gets affected by the layers inside.

When working on 3D models in Mixer, you will notice a Layer Set exists by default.
To add Layer Sets, click on the Layer Set icon located in the Layers panel.

When a Layer Set is selected, on the right-hand side, the available Texture Sets are listed. These can be toggled on and off to select which sets are targeted by the layers contained in this set.
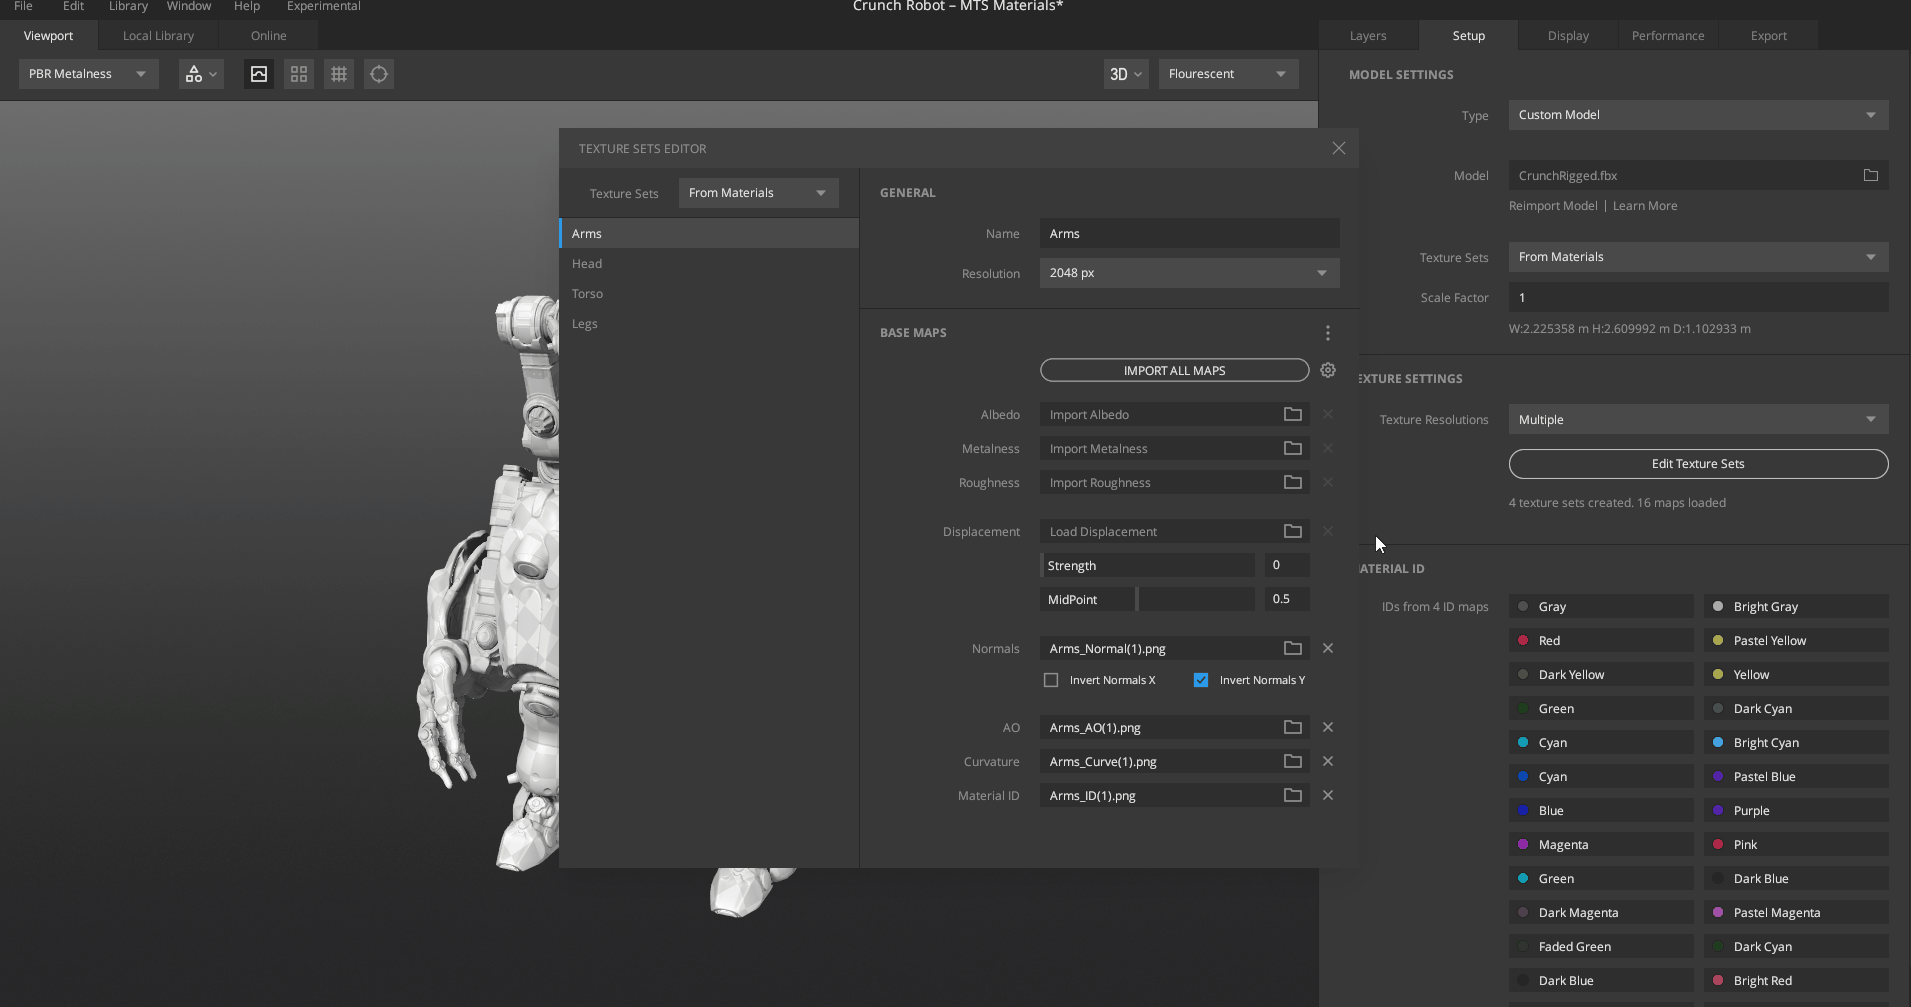
To learn more about Multi Texture set Support, click here.
Layer sets have numerous benefits.
• Paint or apply layers across multiple parts of the model, whether they share a
material or UDIM or not.
• By targeting multiple texture sets, you can bring about changes while only
tweaking in one place.
• Get seamless projection across multiple texture sets. Reap the benefits of using
Position gradient and box projection seamlessly.
Auto Create Layer Sets
When working on multiple texture sets and starting a new mix, you can quickly create one layer set per texture set.
By going into ‘Edit’ in the main menu, you’ll notice the option Create Layer Sets from Texture Sets. This will automatically;
- spawn one layer set per texture set also targeting that texture set
- in the same order as the texture sets
- above any pre-existing texture sets
- and name them after the targeted texture set.
Quick selection of target texture sets
You can also assign Texture Sets to a Layer Set quickly by using the ‘Q’ shortcut key, similar to how Material IDs can be used for masking.
Mixer will auto-generate distinct colors for your Texture Sets. When a Layer Set is selected from the layers panel, you can utilize this feature by pressing ‘Q’ and clicking on the target Set. Hovering over the Mesh while pressing ‘Q’ will also indicate the name of the Texture Set that the mouse is pointing towards.