
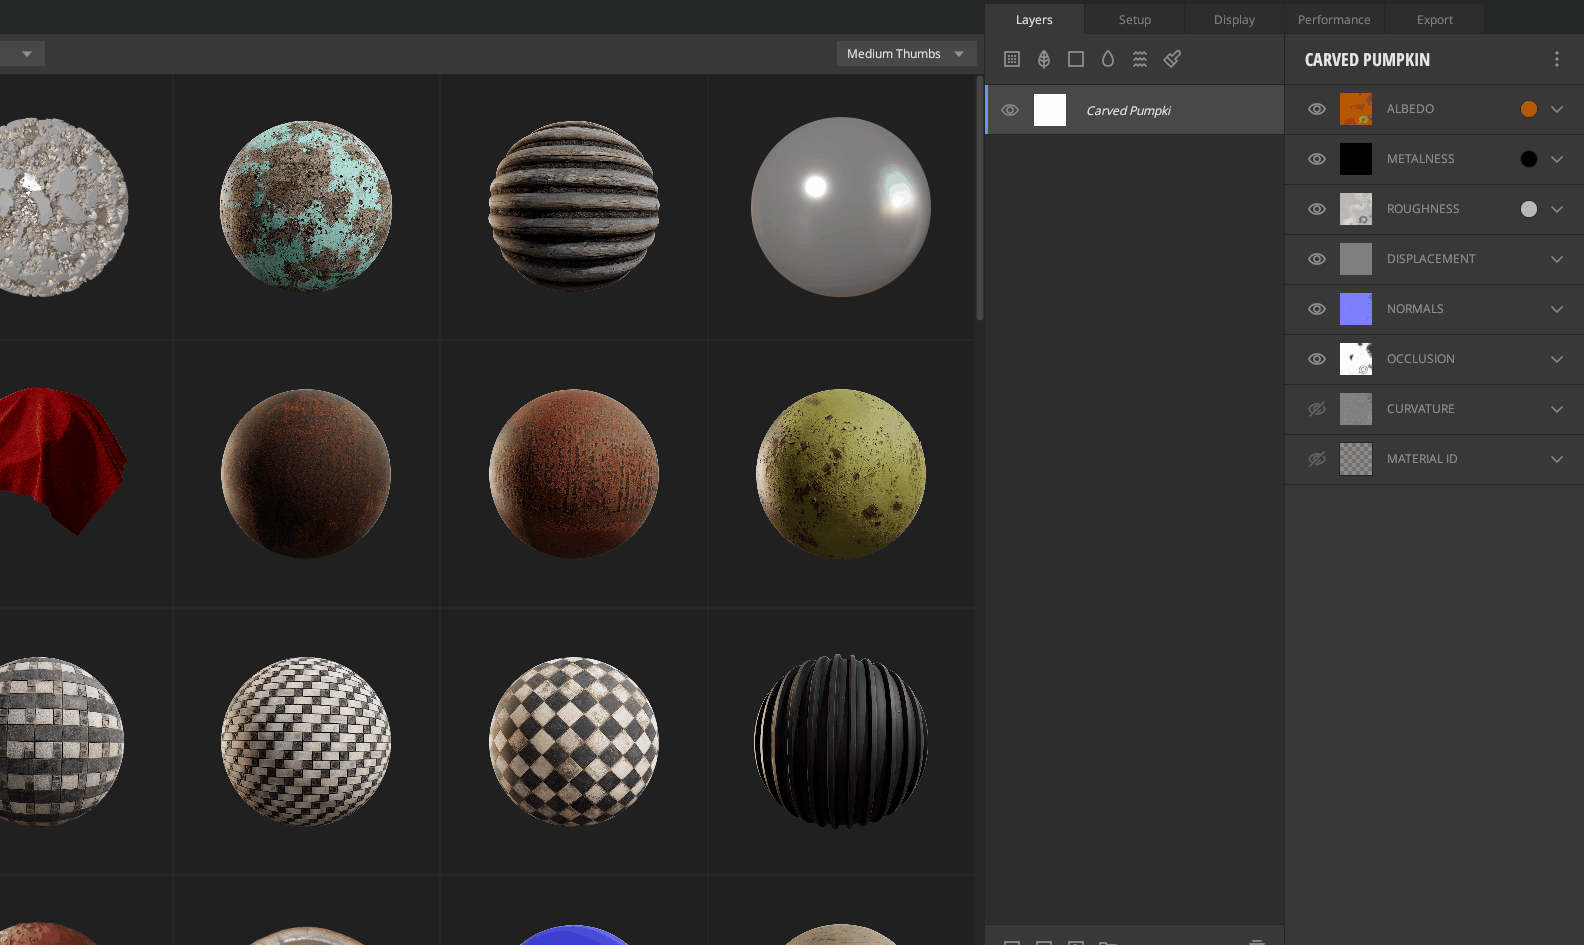
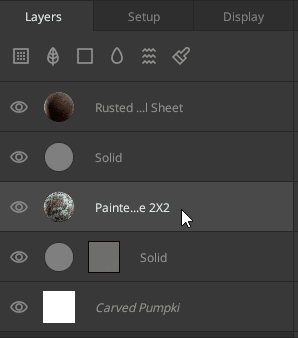
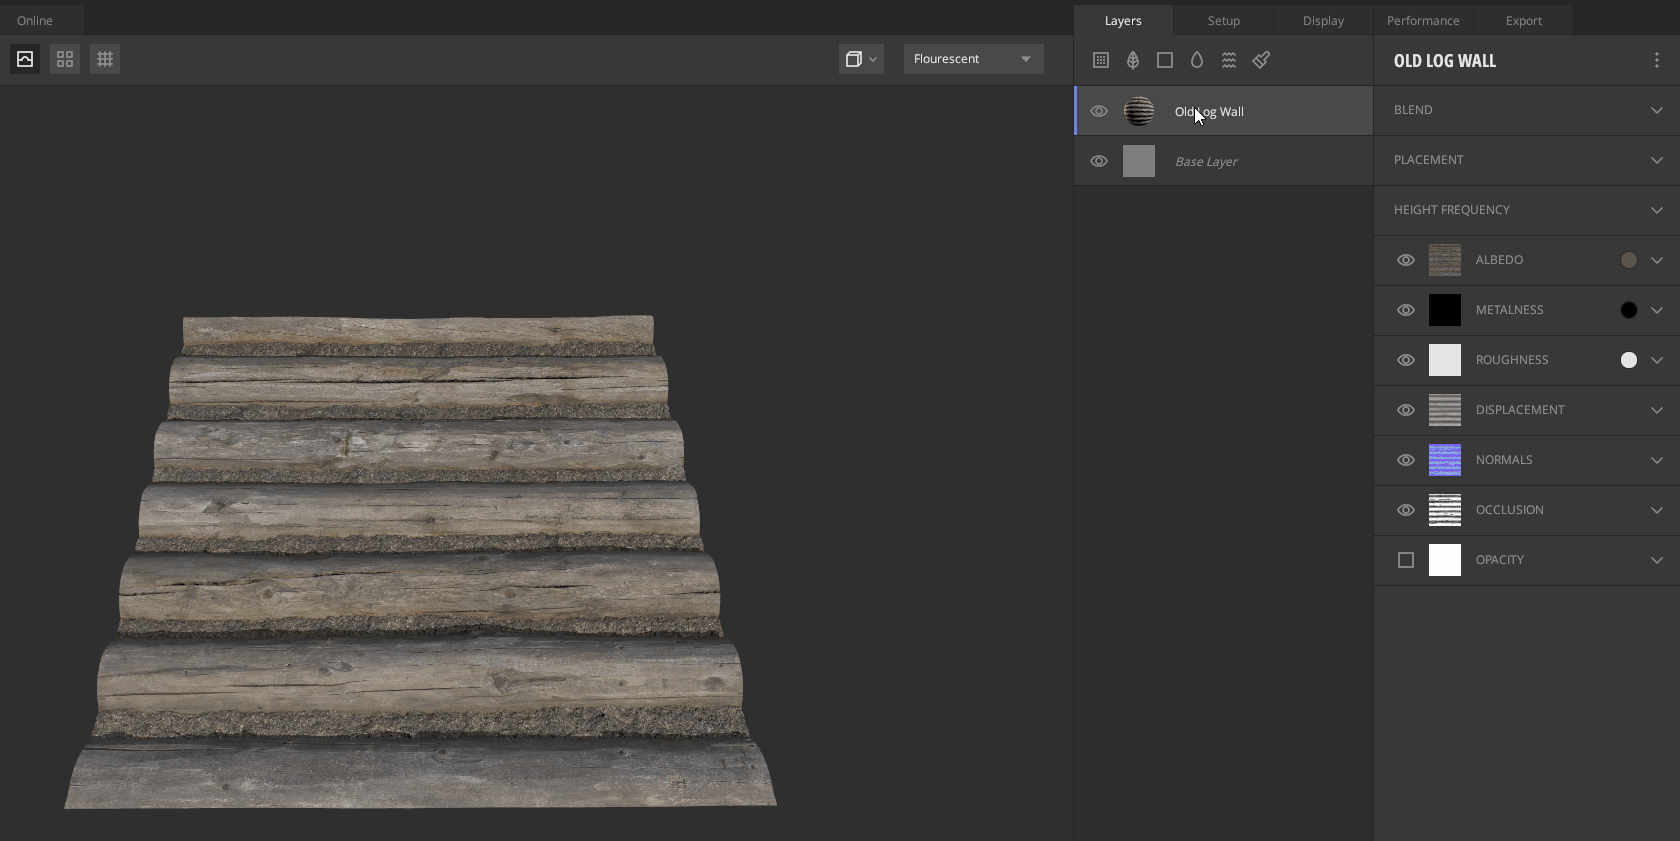
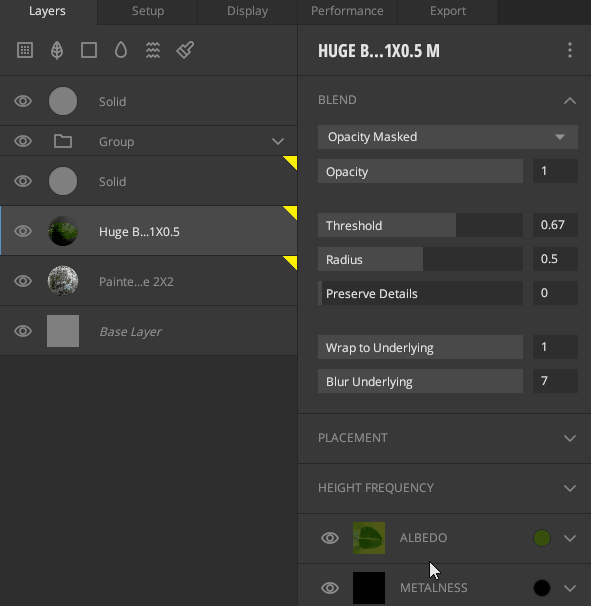
Here we will look at the controls available to use on the layers added in the layer stack.
- Visibility
- Clipping
- Dragging From the Library
- Reposition Layers
- Groups
- Color Tags
- Replace Maps
- Add Mask Stack
- Add Paint Mask
- Add Material ID Mask
- Duplicating Layer
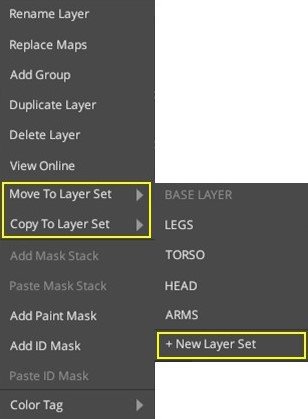
- Move to Layer Set
- Copy to Layer Set
1. Visibility
Click the eye icon next to a layer to toggle its visibility in the Mix. Alt/Option + LMB on the visibility icon to isolate visibility on the selected layer.

2. Clipping
Alt + LMB on a layer to clip it to the layer below, creating a parent-child relationship. In the mixing process, the child and parent layer will be mixed first before mixing with the rest of the layer stack. A child layer cannot have its child layer, but a parent layer can have multiple child layers. When clipping layers, one behavior worth keeping in mind is that matching color to base on a child layer will sample the parent’s reflectance value instead of the underlying Mix’s average value.


3. Dragging From the Library
You can drag and drop a layer from your local library to the desired position in the layer stack. Simply clicking on an asset will add it to the top of the selected layer.
4. Reposition Layers
Click and Drag with the LMB and reposition a layer at any time.
5. Groups
You can create a Group with one or more layers. There are multiple ways to do this:
- Select the layer(s) and press Ctrl + G.
- Right-click on the layer(s) and select “Group.”
-
Select the layer(s) and click the Group icon available at the bottom of the Layer
Stack.
6. Color Tags
You can add color tags to the layer to identify different layers used for various purposes.
Color Tags are an easy and efficient way of organizing your project by adding a colored tag to your layers, mask stack components, and groups.
Right-click on any layer, group, or mask component and select “Color Tag” in the right-click menu.
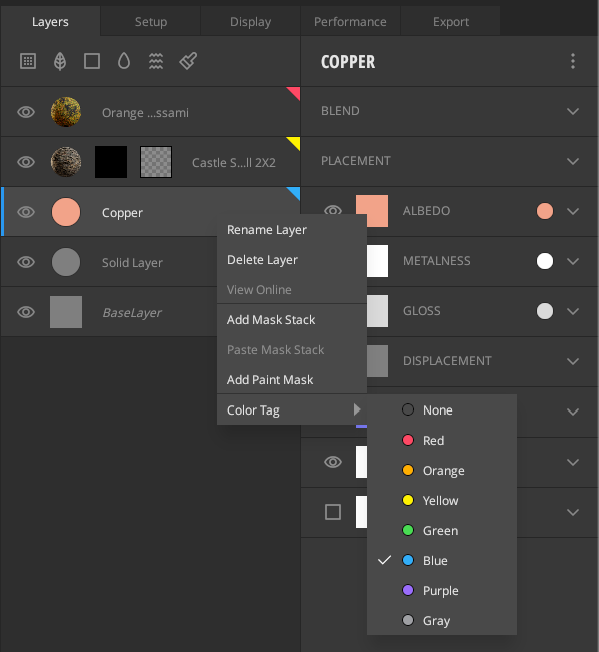


Color Tags On Multi-Selected Layers
When layers/components are multi-selected, and the user picks a color, all selected layers get the same color tag.
Color tags are stored when you save your project to preserve tags when loading a saved mix.

7. Replace Maps
You can swap out the layer’s textures and preserve the layer’s properties by selecting Replace Maps option from the right-click menu. This option is only available on Surface and Atlas/Decal layers.
8. Add Mask Stack
You can add a mask stack to a layer. You can do this by either right-clicking on a layer and selecting “Add Mask Stack,” or by selecting your layer and clicking the mask stack icon on the bottom of the stack or by pressing the shortcut K.
9. Add Paint Mask
You can add a paint mask to a layer. You can do this by either right-clicking on a layer and selecting “Add Paint Mask,” or by selecting your layer and clicking the paint mask icon on the bottom of the stack, or by pressing the shortcut N. You can also quickly add a paint mask filled with black by pressing Alt + N.
10. Add Material ID Mask
You can add a material ID mask to a layer. You can do this by either right-clicking on a layer and selecting “Add ID Mask” or by selecting your layer and clicking the Material ID mask icon on the bottom of the stack or pressing the shortcut I.
11. Duplicating Layer
You can duplicate single or multiple layers by selecting them, using the shortcut key Ctrl+D, or clicking Duplicate Layer in the Edit Menu.
12. Move/ Copy to Layer Set
To save time and to put the copies in another layer set, you can copy selected groups and layers to a layer set directly instead of first copying things and then move them.
Hover over these options to see the available Texture Sets for your mesh and chose which layer or group can be copied or moved to these Texture Sets. Below is an example based on the Texture Sets available on the free MTS Sample Mix ‘Crunch’.

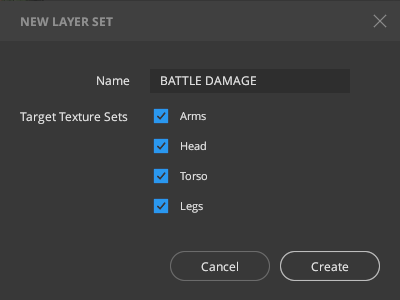
While using any of the move or copy options, you can also create a new Layer Set and target Texture Sets of your choice.
This will prompt you with a new popup that can be used to name a new Layer Set and help target Texture Sets of your choice.
For something that cannot be copied, such as a Layer Set itself, this option will be disabled.