
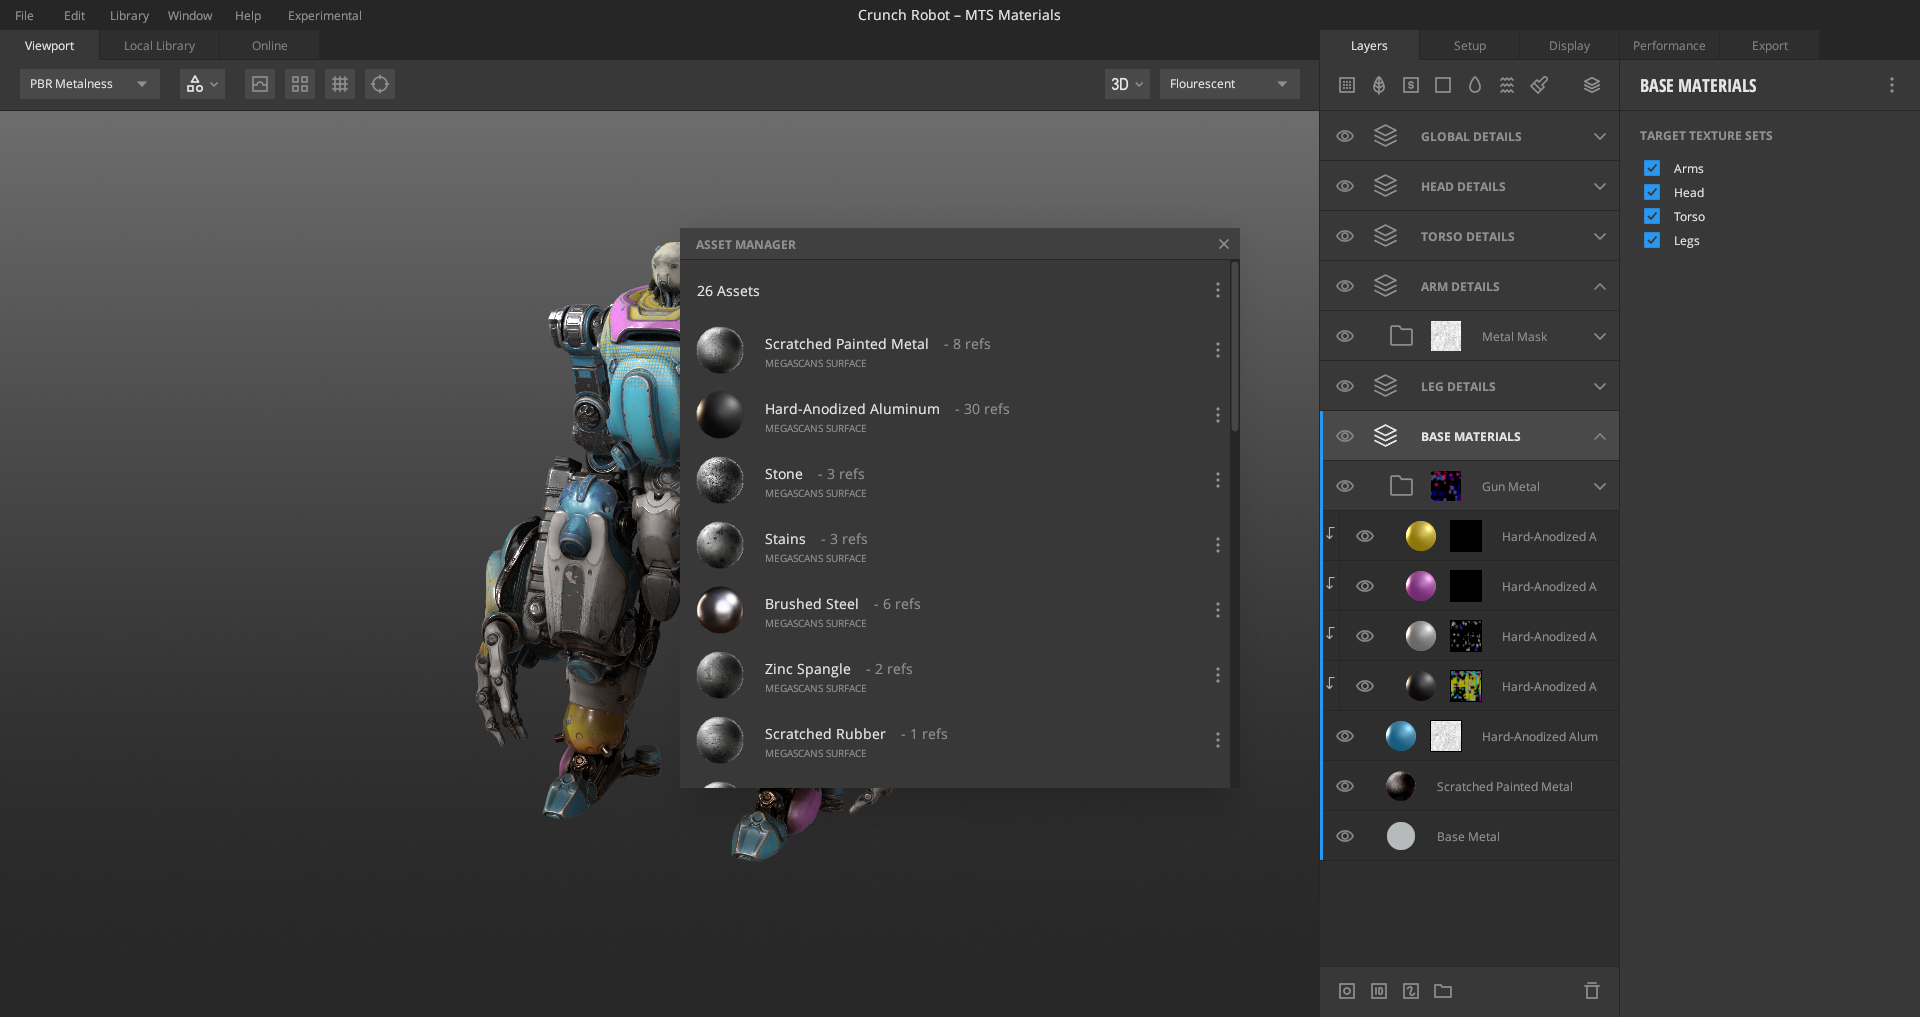
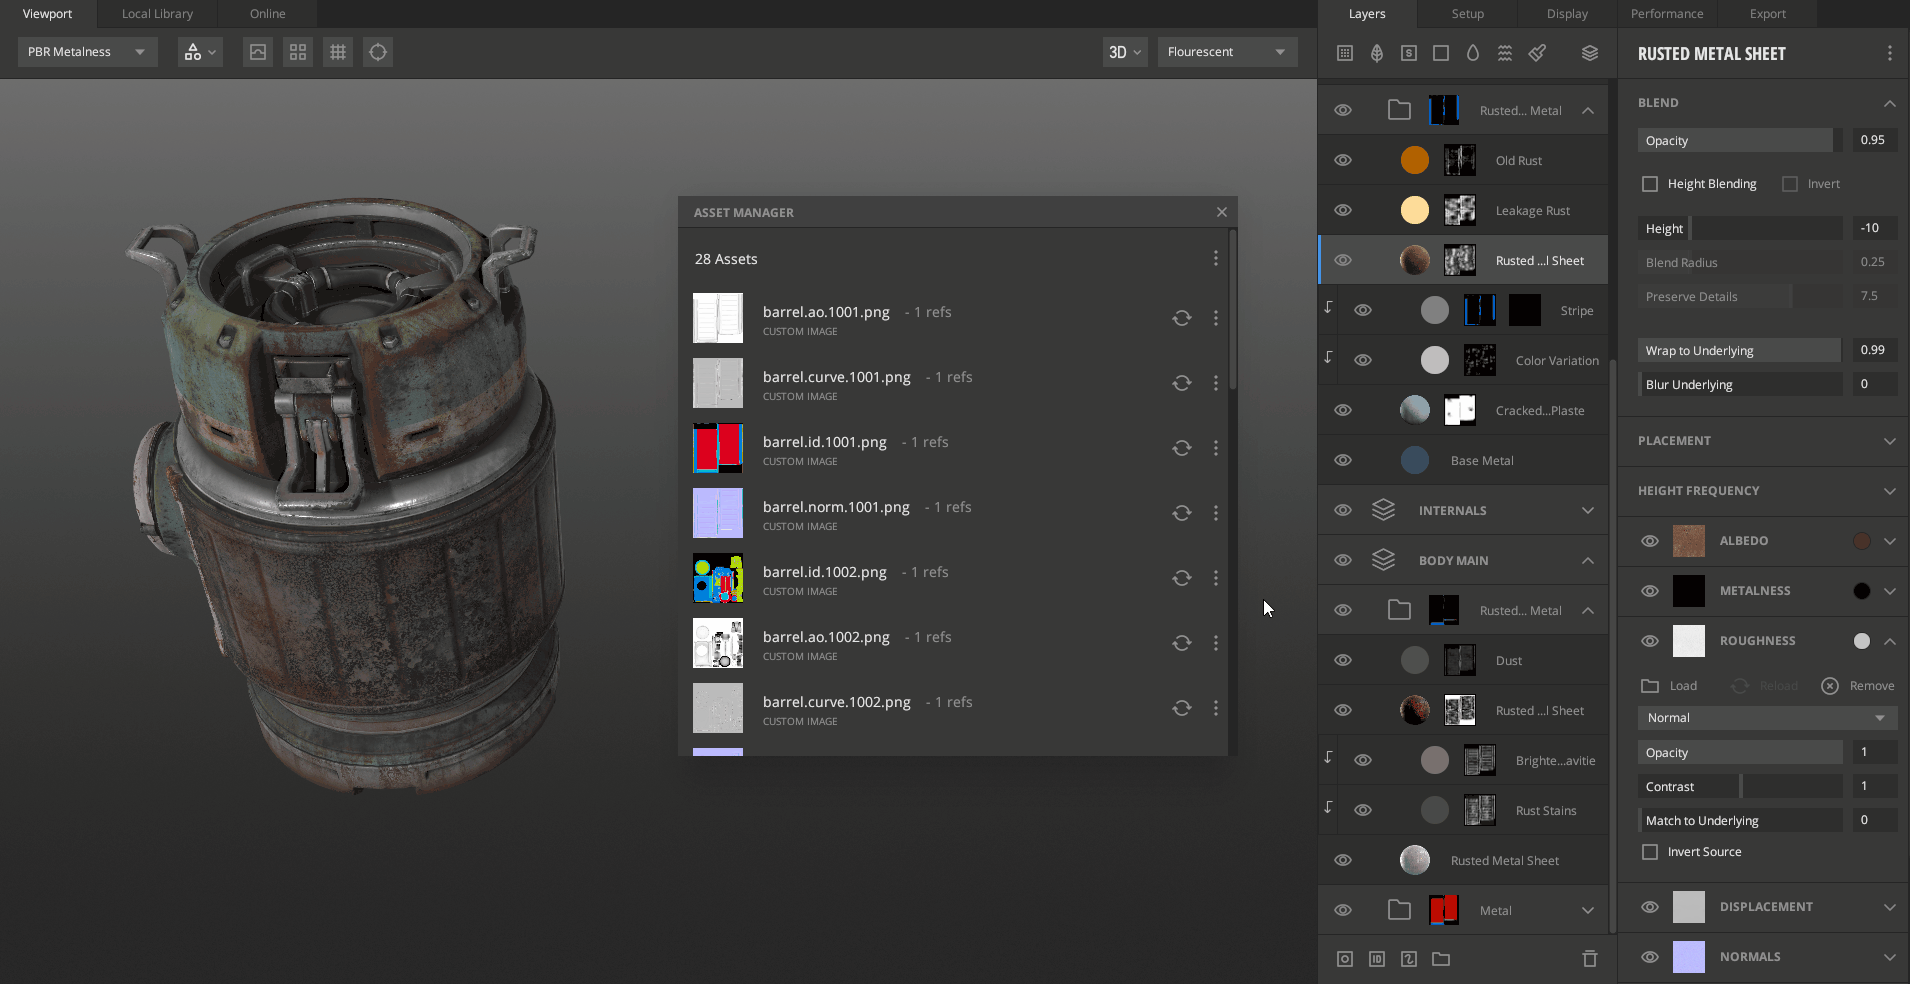
The Asset Manager is a single place to manage all your assets in your project. It is accessible through the ‘window’ option in the top bar.

Whenever you create a mix, you will be using multiple assets such as surfaces or models from either the local library, your custom 3D models, or custom image files. The Asset Manager helps keep track of all these assets so that you can quickly view or edit them from a single window instead of searching for them manually through the layer stack.
The Asset Manager will be covered in the following topics:
- Missing Assets
- Asset Types
- References
- Removing Asset
- Replacing Asset
- Reloading Asset
1. Missing Assets
One of the most important uses for the Asset Manager is to highlight any missing assets in a saved mix. Once a saved mix is loaded again, the Asset Manager will highlight any Megascans component or asset missing from the mix with an exclamation mark. While the Asset Manager will indicate missing assets with an exclamation mark, the exclamation marks will point towards the layer stack’s specific component.
However, for Custom assets, you will be able to replace missing custom assets highlighted in the Asset Manager by manually browsing to their location.

This feature helps in multiple scenarios, such as sharing a mix with a colleague who does not have all the assets downloaded or whether you plan to reset a PC, change the folder destinations, or accidentally delete assets used in the mix.
2. Multi Actions
While managing the assets in a mix, you will have the following options to affect all items in the Asset Manager. By clicking on the vertical ellipses at the top right corner of the Asset Manager window, you will be able to:
- 1. Remove unused: Purge all 0 ref items (for example, if custom sources are no longer wanted after flattening a mix).
3. Asset types
With the Asset Manager panel open, the list will indicate all the types of assets loaded into the current mix.
The asset types will primarily fall into two categories.
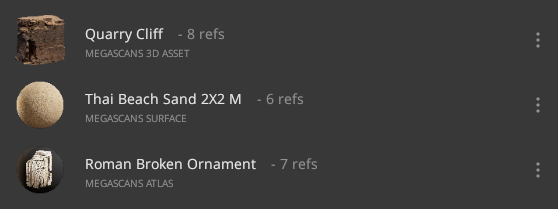
- Megascans Library Assets
- Custom Assets
3.1. Megascans Library Assets
The Megascans library consists of
- 3D Assets
- Surfaces
- Atlases.
Once any of these are added to a mix, the Asset Manager will reflect the
- Name
- Type
- Number of referenced components
- Thumbnail
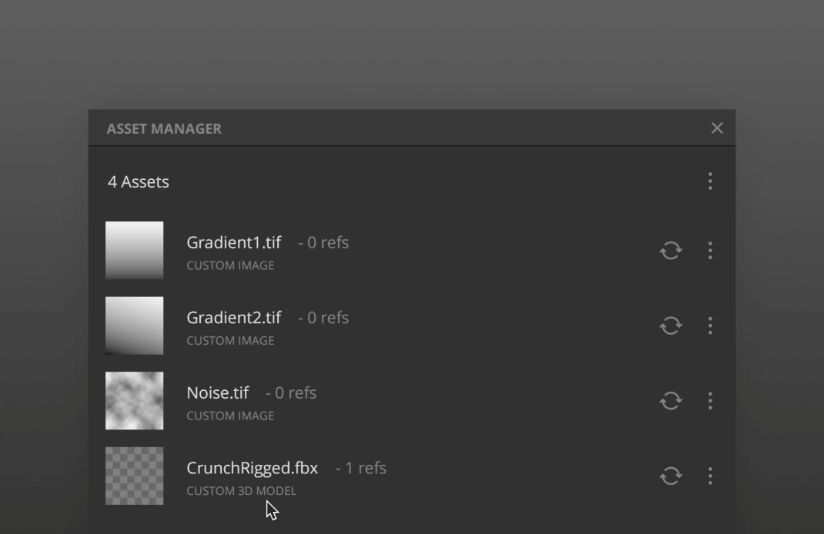
3.2. Custom Assets
The custom assets consist of user-generated content such as 3D models, channel maps,
or brush alphas that can be textured further in Mixer.
- Custom 3D Models
- Custom Images (Baked Maps, Textures, Brush Alphas, etc.)
Custom 3D Models
You will also have the option to replace or remove the imported model through the Asset Manager. A significant difference between Megascans assets and custom assets is that you must manually browse for the latter if it shows up as missing. The former can be downloaded.
You may want to texture custom-made 3D models using Mixer’s latest 3D texturing support. The Asset Manager can re-import 3D models or custom images that you may edit in external software and continue with those changes in the existing mix.
4. References
To conveniently locate the referred component, clicking on top of the ‘refs’ number will allow you to cycle through the referred channel, component, or location within mixer layers.
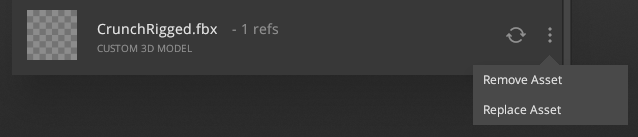
5. Removing Assets
The remove and replace asset will appear by clicking on the vertical ellipsis at the end of each listed item. For a Megascan asset, selecting the “remove asset” option will remove all the asset maps while keeping the layer in the Mix. Custom images will be removed from the channels they were loaded in. Removing a 3D model removes it from the Mix, showing a missing mesh instead. You can load the model again through the setup tab.

6. Replacing Assets
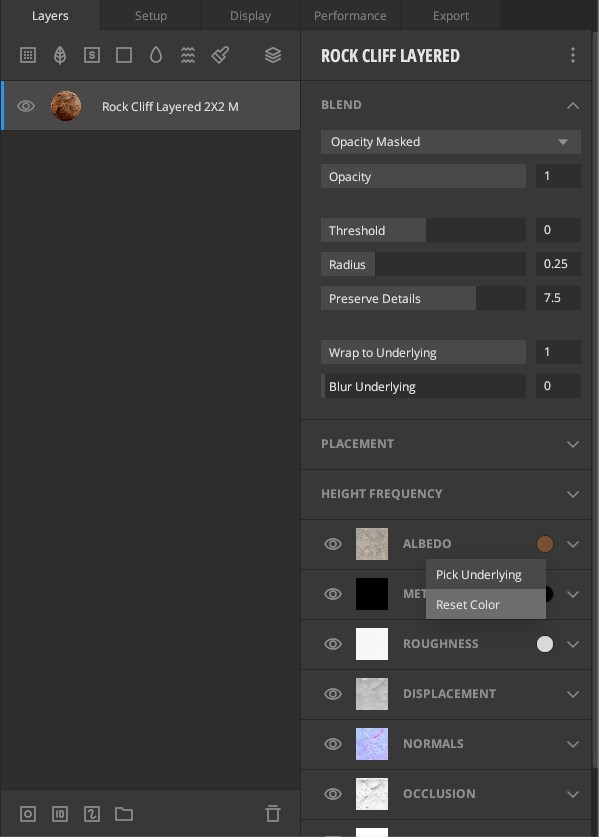
For a Megascan asset, the “replace asset” option will take you to the library to pick another asset. This option changes the asset’s source; however, the channels’ settings continue to remain the same as before you replaced the asset. This allows for quickly trying different assets with the older settings and see the changes in the mix.
If you wish to view the new asset and discard previous changes, you can reset the channel settings by right-clicking on the channel’s color section and opting for the ‘Reset Color’ option.
The “replace asset” option allows you to replace the asset with another 3D model or custom image for custom assets.
7. Reloading Assets
There is a reload option for imported 3D models and custom images. Any changes you make to a particular imported asset in any external software can be quickly updated in the Mix using the reload button.