
The Paint Layer is a powerful feature in Mixer where it allows the user to paint directly on top of the surface of a Plane or a 3D mesh.
To learn more about Mixer’s painting features, please see the following video.
A Paint Layer is added to the Layer Stack as any other layer, but you cannot apply a mask to the Paint Layer. However, it can be clipped to the underlying layer.

The Paint Layer has two main panels:
- Paint Layer Properties
- Brush Panel
1. Paint Layer Properties
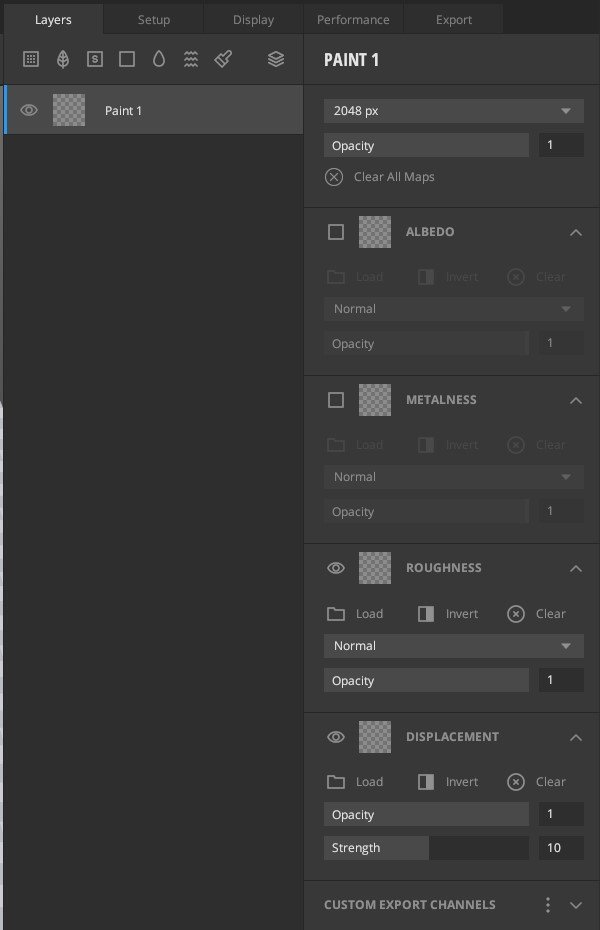
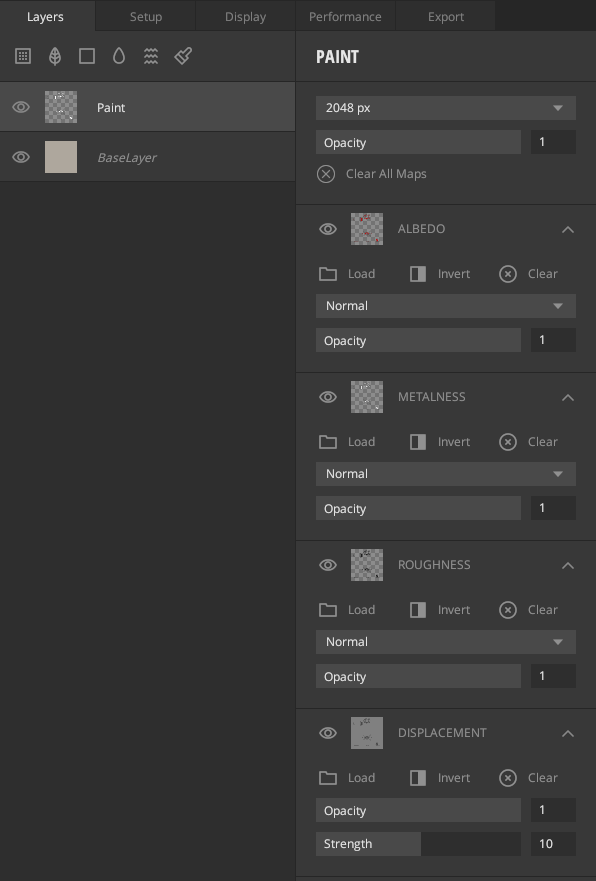
The Paint Layer has the following properties:
- Resolution
- Opacity
- Channel-Specific Controls
- Custom Export Channels
1. Resolution
Modify the resolution of the Paint Layer. This will affect the level of detail of your painting on the surface. The resolution cannot be increased after it’s been set and edited.
2. Opacity
Control the Transparency of the layer.
3. Channel-Specific Controls
The Paint Layer consists of the Albedo, Metalness, Roughness, and Displacement channels. You can manipulate each channel of the Paint Layer.
- Blend Mode: Specify blending mode for the component. For more information on the modes available, see Blend modes.
- Opacity: Control the transparency of the component map.
- Load image: Load your Albedo, Metalness, Roughness, or Displacement map.
- Clear: Clears the selected map.
- Invert channel: Inverts the map.
4. Custom Export Channel
Primarily used for managing Mask Exports. Here you can send the layer’s data to custom mask channels. Through the Custom Exports Channel editor, you can blend, organize, edit, or view single or multiple masks in one or more channels.
2. Brush Panel
When a Paint Layer is selected, a Brush Panel will show up on the left side of the viewport. The Brush Panel allows you to modify your brush tools, such as the brush shape, size, and color, to get the desired painting results with ease.